CellOrganizer for Docker
About CellOrganizer for Docker
CellOrganizer for Docker is an image with compiled binaries from the CellOrganizer functions
img2slml, the top-level function to train generative models of cells, and
slml2img, the top-level function to generate simulated instances from a trained generative model.
slml2info, the top-level function to generate a report from information extracted from a single generative model.
slml2report, the top-level function to generate a report from comparing generative models.
slml2slml, the top-level function to combine models into a single model file.
img2SPHARMparameterization, the top-level function to convert images to spherical harmonic parameters.
SPHARMparameterization2image, the top-level function to convert spherical harmonic parameters into an image.
SPHARMparameterization2mesh, the top-level function to convert spherical harmoncis to a 3D mesh structure.
The image also comes with
and the Python packages
ipywidgets 7.4
dill 0.2
dask 1.1
numba 0.42
bokeh 1.0
sqlalchemy 1.3
hdf5 1.10
vincent 0.4
protobuf 3.7
About Docker
Docker performs operating-system-level virtualization. Docker lets us create and deploy a preconfigured image with the CellOrganizer binaries. This image can be used to spin containers that are ready to use and start testing.
To learn about Docker and how to use it, click here
About Jupyter
The Jupyter Notebook is an open-source web application that allows you to create and share documents that contain live code, equations, visualizations and narrative text.
To learn more about Jupyter, click here
Installing CellOrganizer for Docker
Detailed instructions of how to install and successfully run Cellorganizer for Docker can be found here:
Running CellOrganizer for Docker through Jupyter-Notebook
Once you have the Jupyter running, now you can start playing around with the demos. We have a set of sample demos that can help you get started.
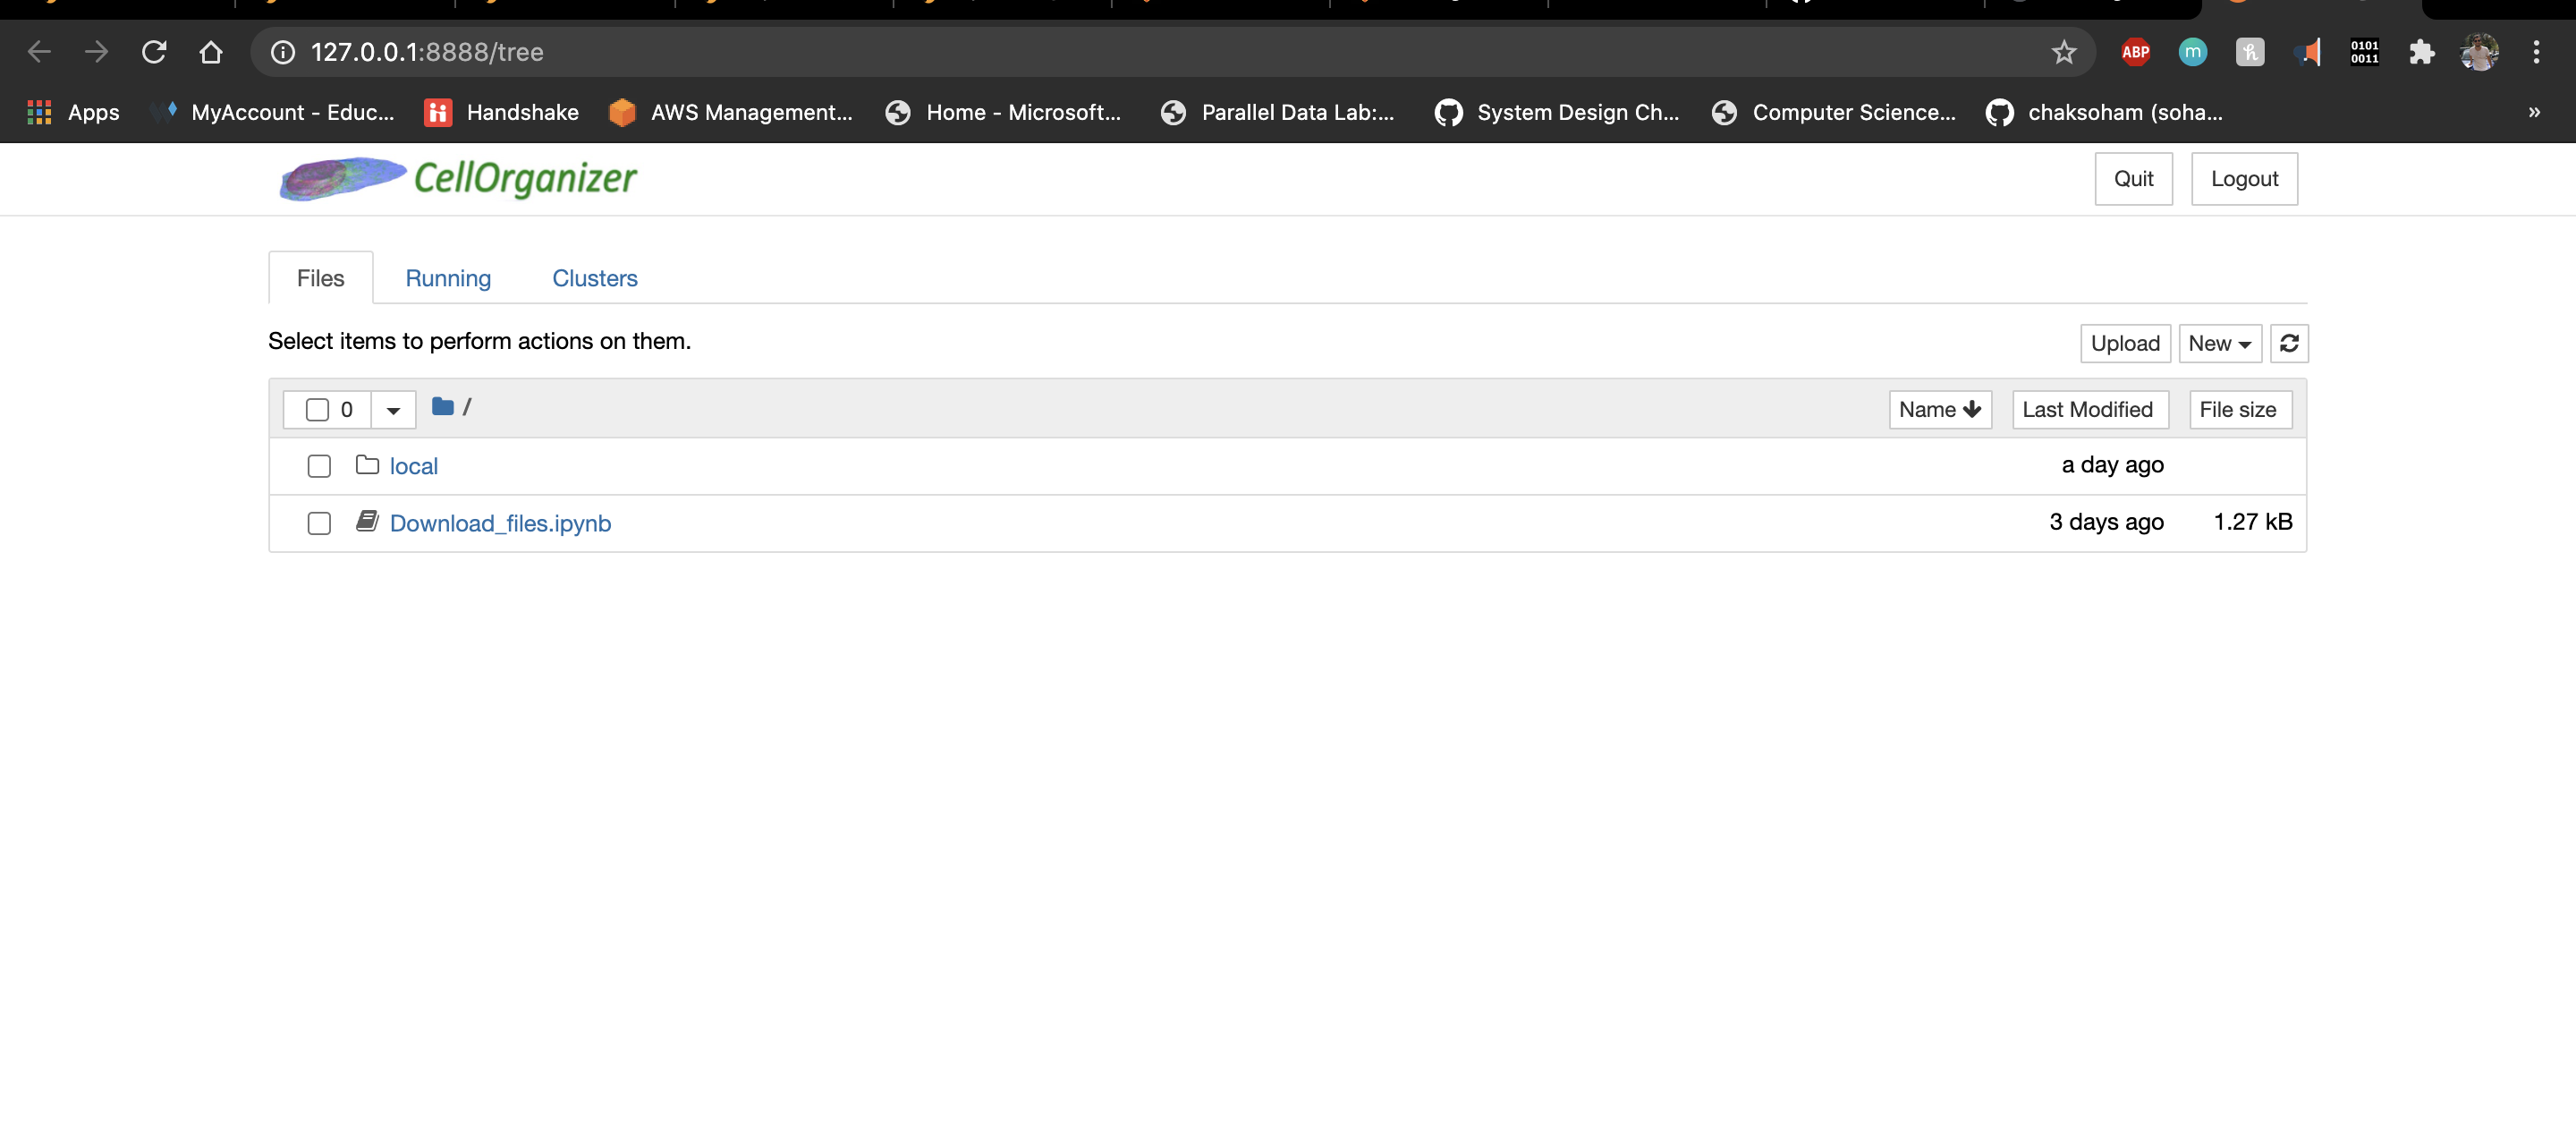
Your Jupyter folder structure looks like this.
The run script had created a folder named CellOrganizerDocker on your desktop. Use this shared folder to transfer files (if needed) between your system and the docker container.
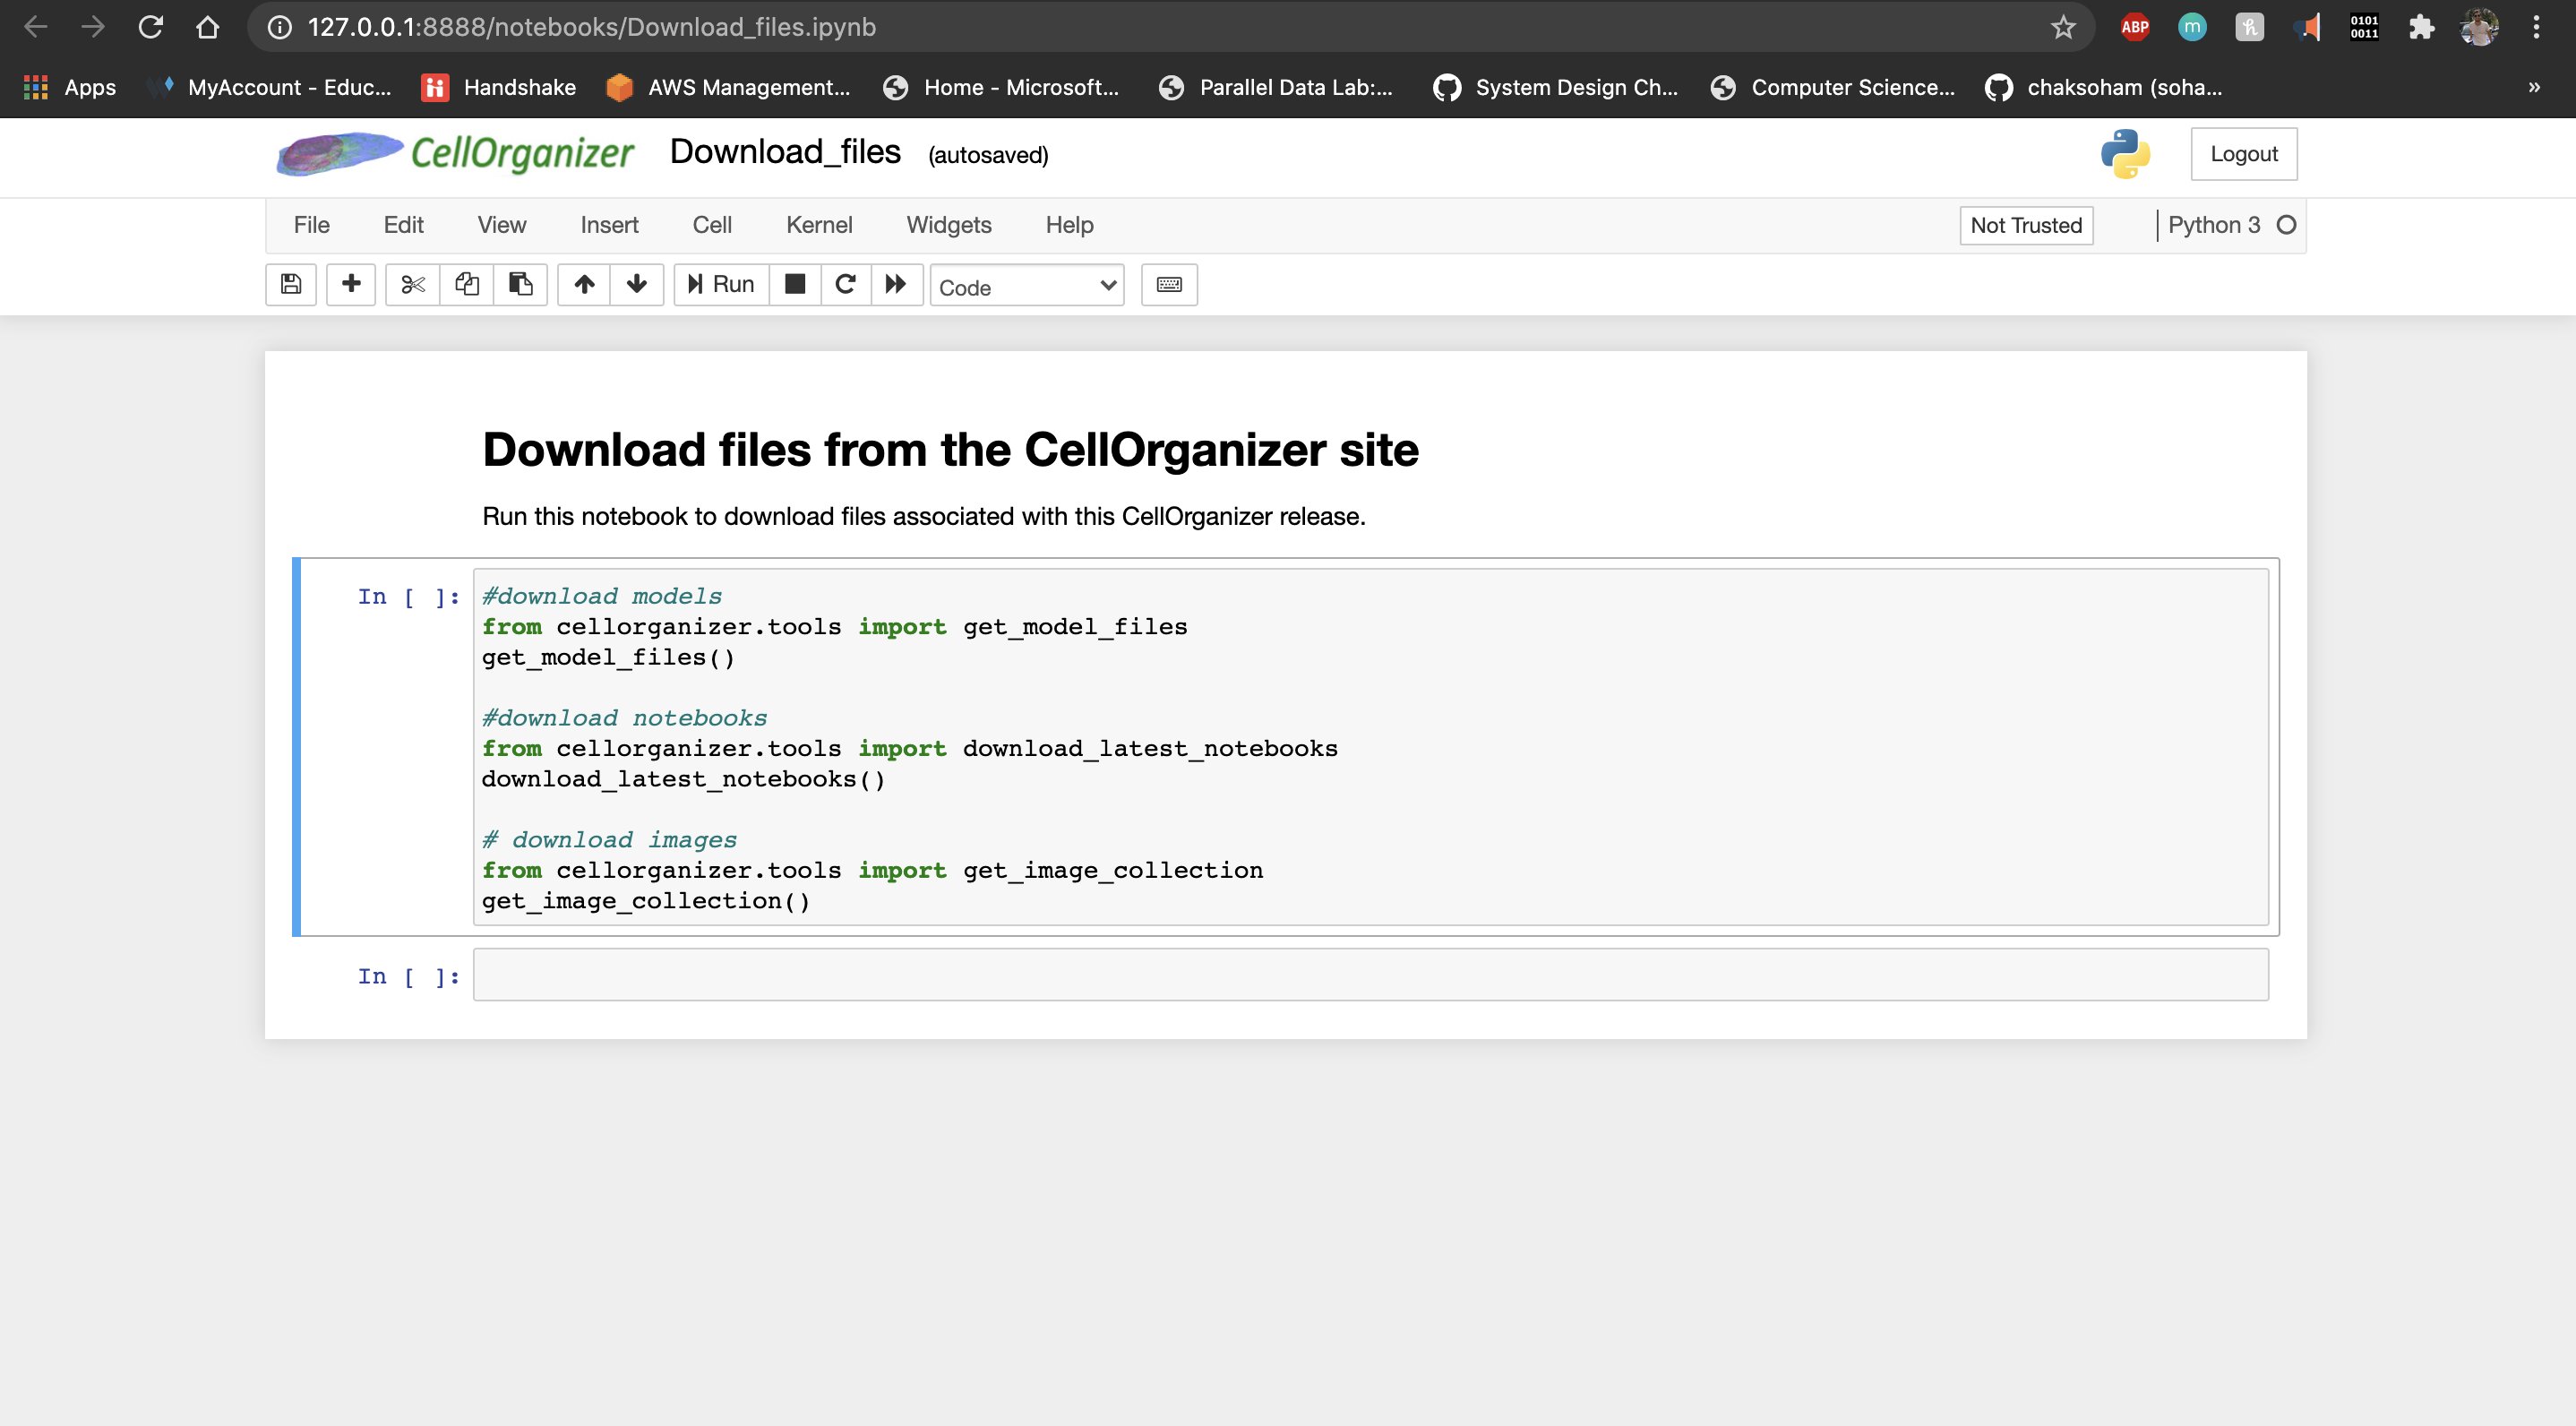
Use the Download_files notebook to get the latest images, models and notebooks.
These are fetched from the web and kept under CellOrganizerDocker folder on your desktop.
The demos use various image sets and models located inside CellOrganizerDocker/images and CellOrganizerDocker/models folder.
The demo notebooks are located under CellOrganizerDocker/notebooks and are further divided as:
- demo_notebooks
2D A collection of 2D jupyter notebooks demos
3D A collection of 3D jupyter notebooks demos
- workshop_demos
A collection of jupyter notebooks used during CellOrganizerDocker workshop
An example of a demo that trains a generative model from a series of .tif image files is demo2D01. To run a demo, simply click the run button at the top of the notebook.

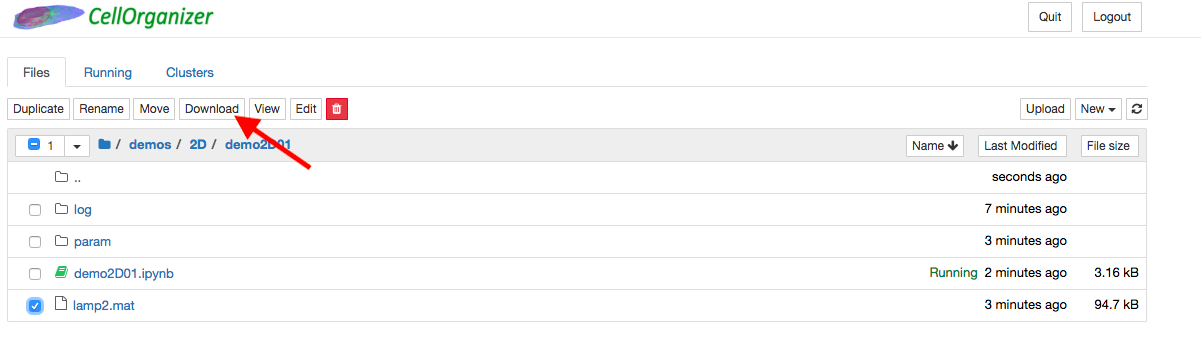
This demo will save a folder param containing .mat files as well as a .mat file lamp2.mat to the same directory (/home/cellorganizer/demos/2D/demo2D01). These .mat files contain information characterizing the trained generative model.
An example of a demo that produces simulated images from a trained generative model is demo2D02.
This demo will save a folder img containing these simulated images to the same directory.
To export generated data out of the container, click the files in the directory that will be exported and click download.